
Deals & CRM
Deal pipeline, contacts, agents, commissions, drip campaigns, documents, workflows, and analytics.
Chapter 8 -- Deals / CRM
Overview
The PROPMETRIK Deals module is a full-featured Customer Relationship Management system built for real estate firms operating in the Ghanaian market. It gives your team a single workspace to track every opportunity from first contact to closed deal, manage agent performance, automate follow-ups, and forecast revenue -- all in Ghana Cedis.
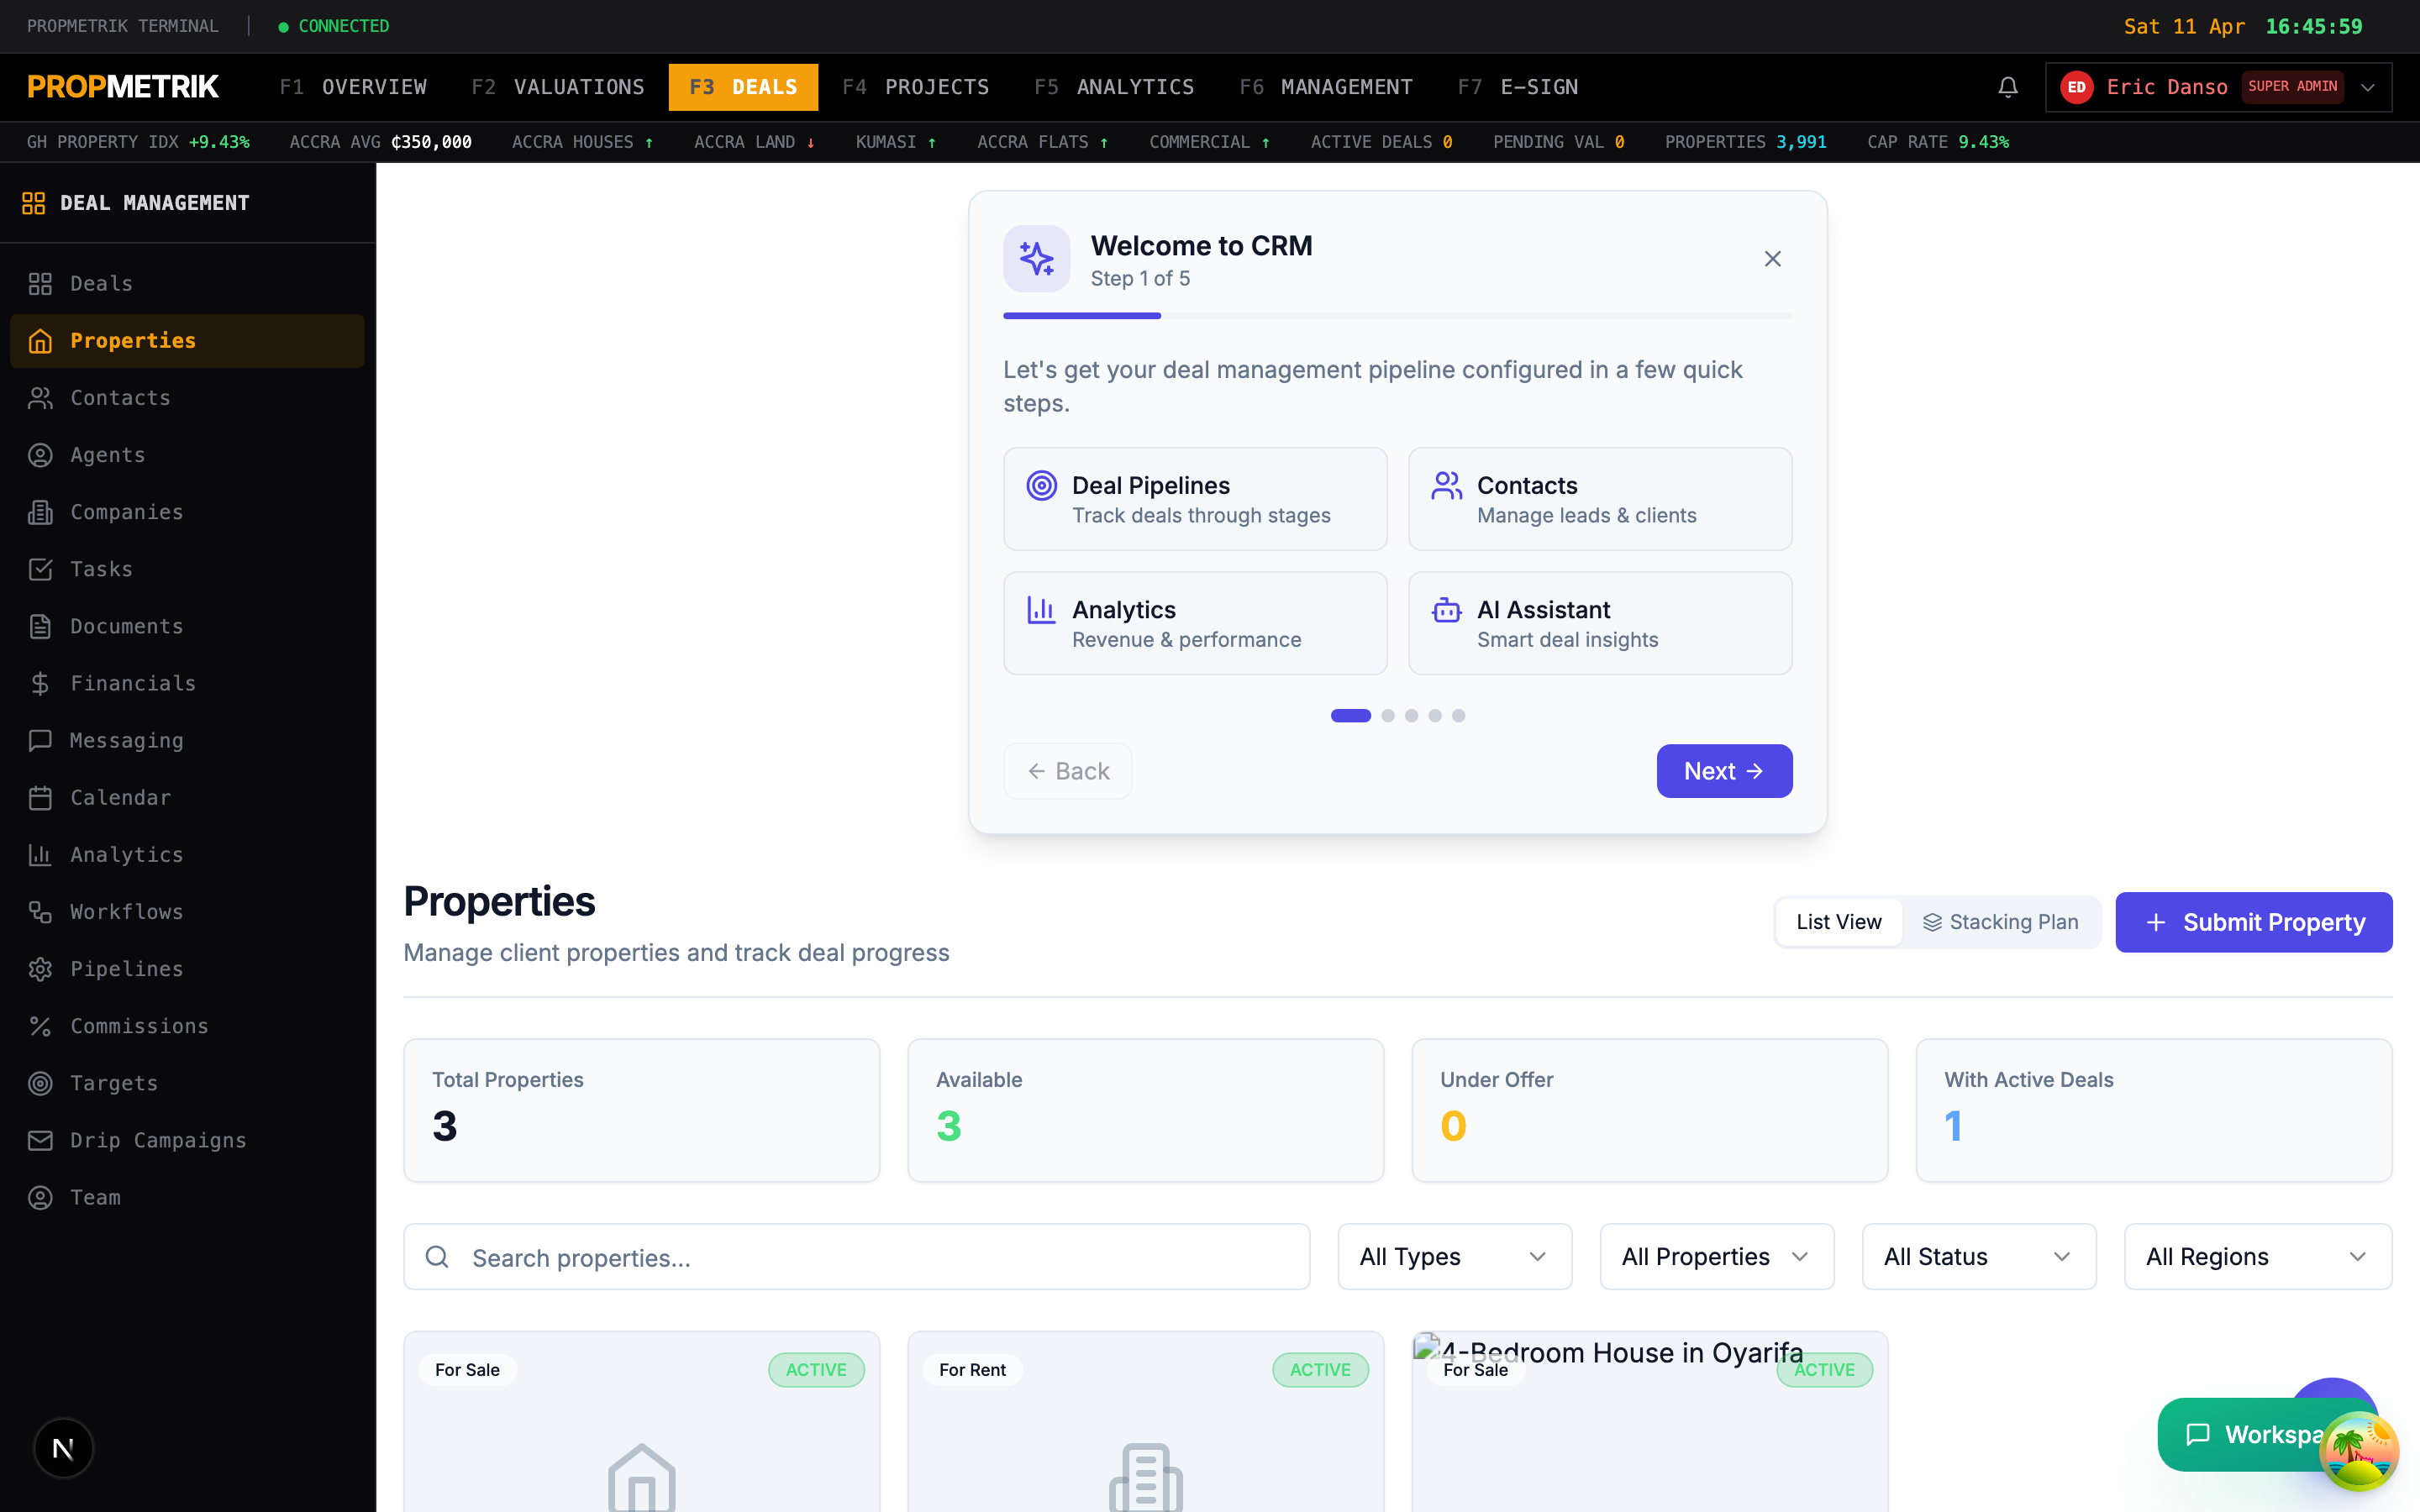
The CRM is accessible from Dashboard > Deals and features a dedicated left sidebar for quick navigation between sub-modules. On your first visit, an onboarding wizard walks you through the key concepts. A floating AI assistant is always available in the bottom-right corner for natural-language queries about your pipeline.
8.1 Deals List & Pipeline Board
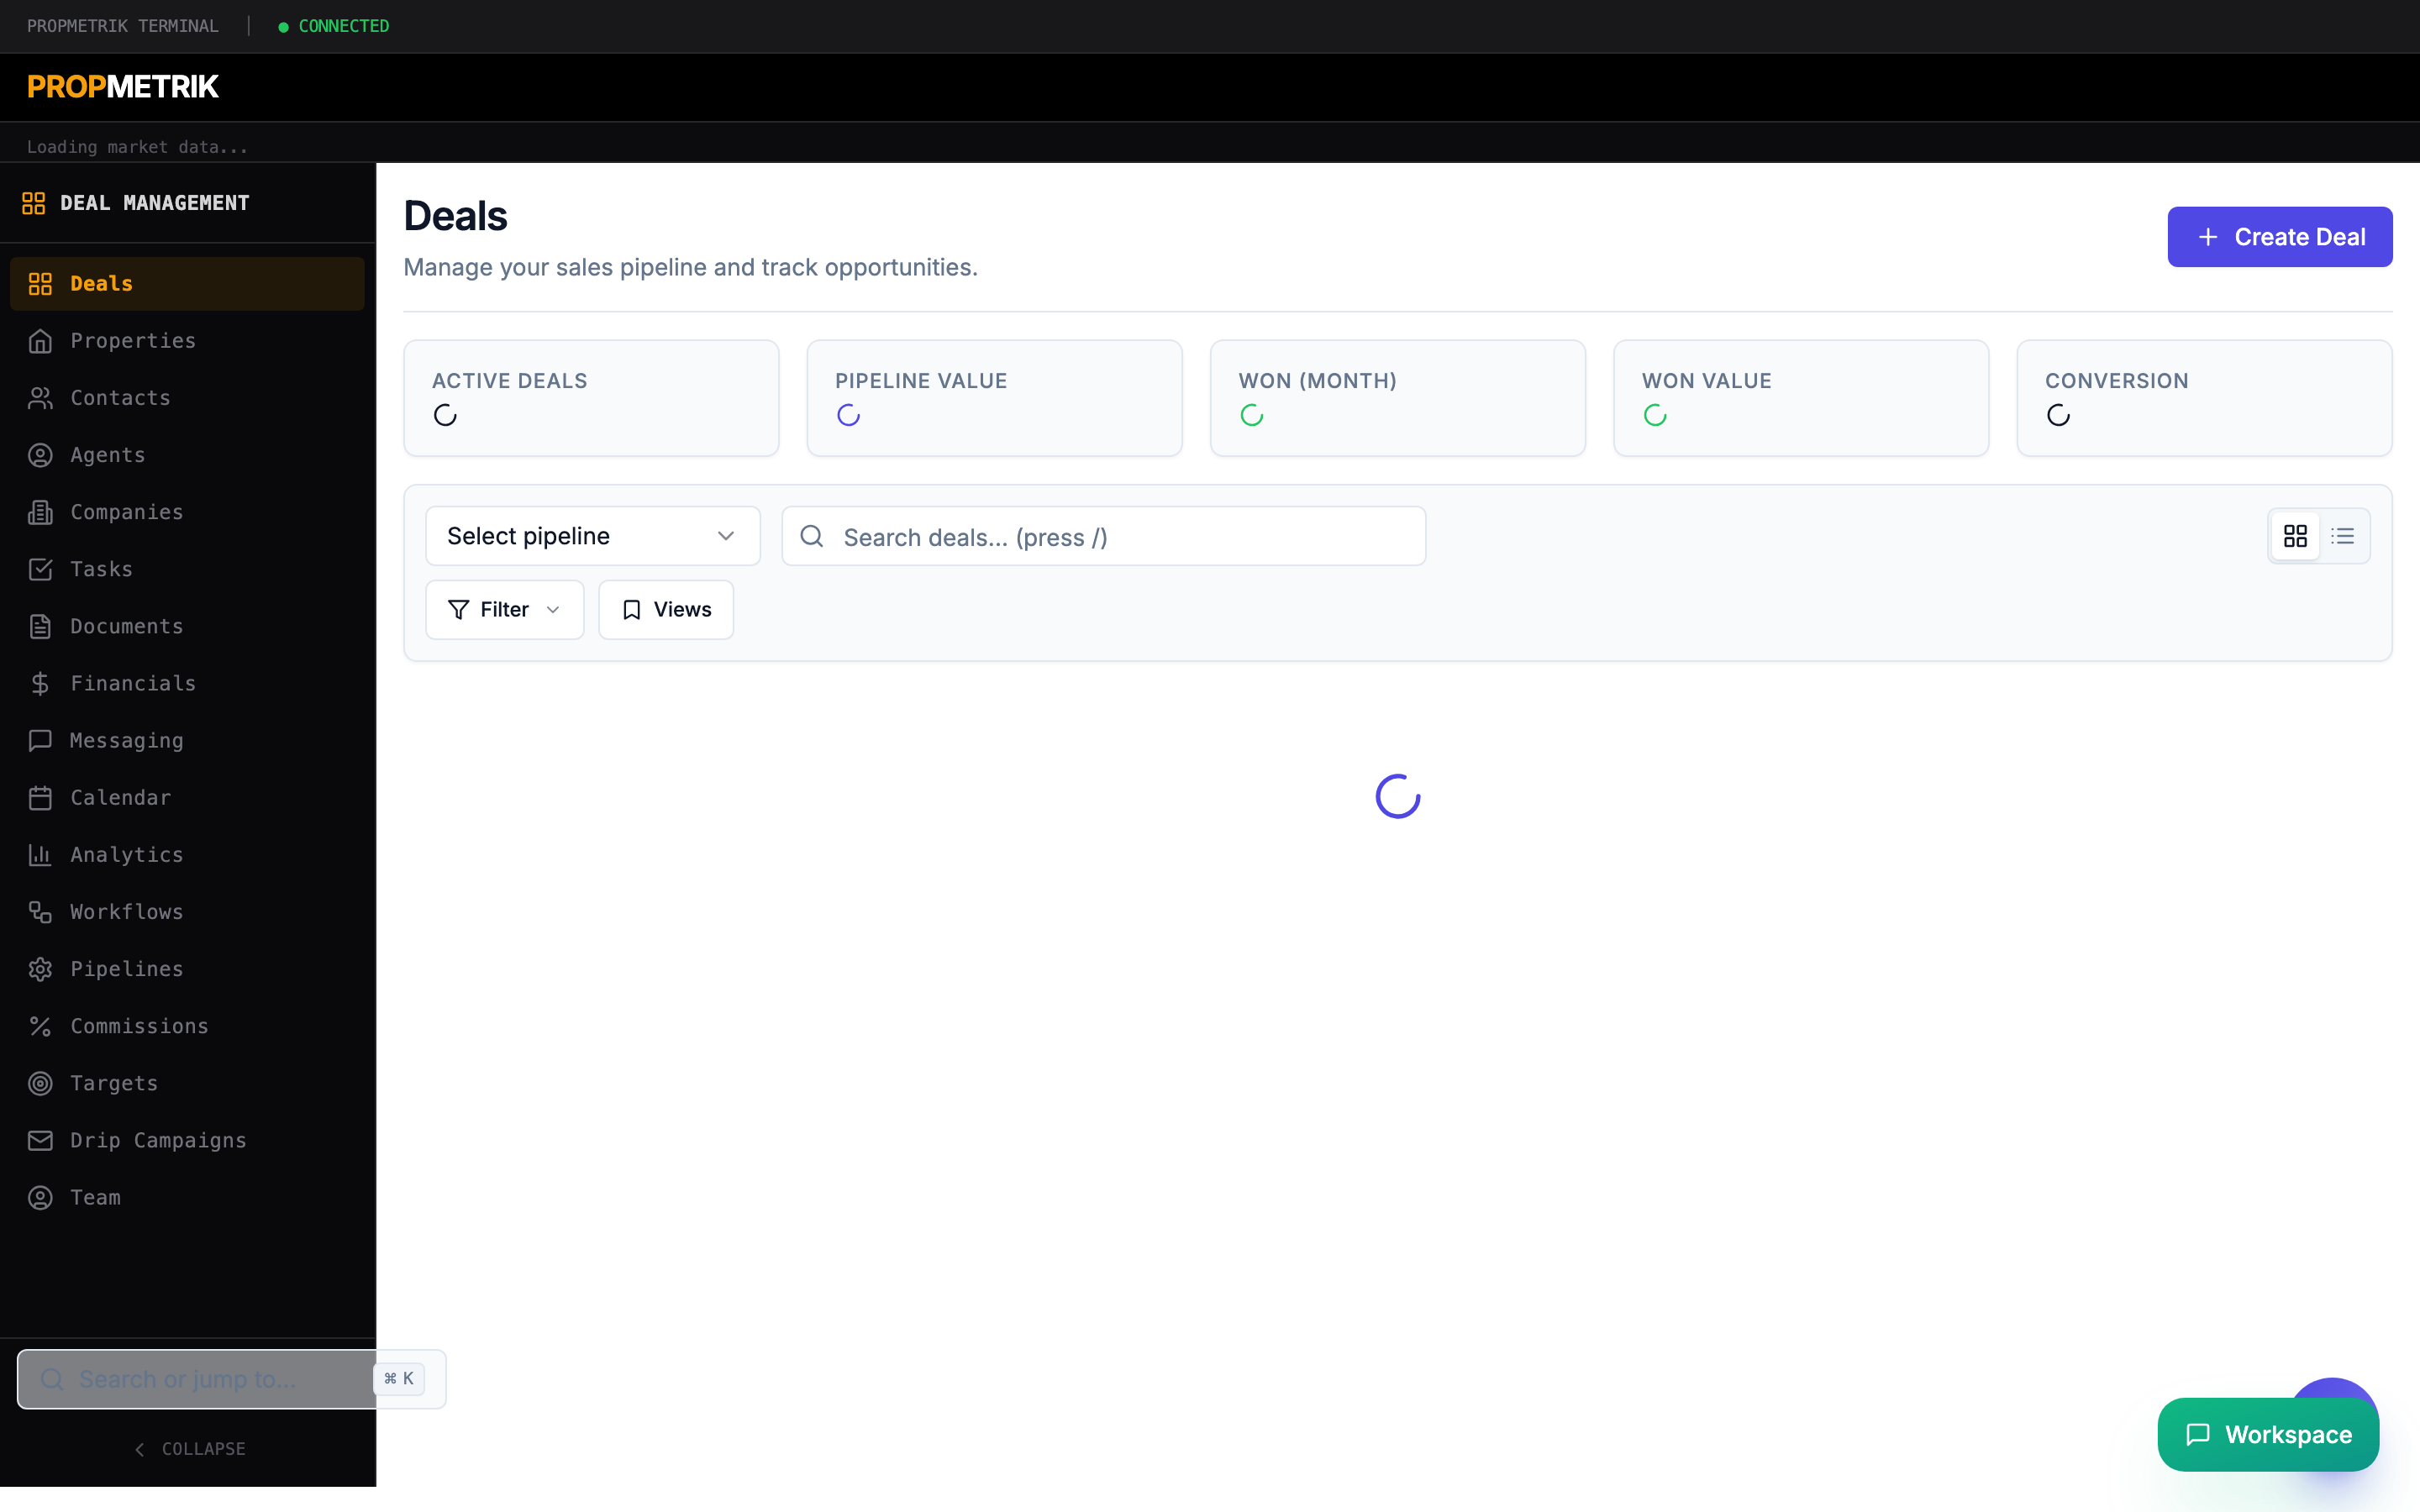
The main Deals page is where you spend most of your time. It shows your active pipeline in two views:
- Kanban view -- drag-and-drop cards between stage columns.
- List view -- a sortable table with bulk-select checkboxes.
Toggle between views using the grid/list icons in the toolbar.
Key Metrics Bar
Five summary cards sit at the top of the page:
| Card | What It Shows |
|---|---|
| Active Deals | Total open deals across the selected pipeline |
| Pipeline Value | Sum of all active deal values in GHS |
| Won (Month) | Deals closed-won in the current calendar month |
| Won Value | Total Cedis value of won deals this month |
| Conversion | Percentage of deals that moved from first stage to won |
Filtering & Search
- Pipeline selector -- switch between pipelines (e.g. "Sales", "Lettings", "Development").
- Search bar -- type to filter by deal title, deal number, or primary contact name. Press
/to focus the search bar from anywhere on the page. - Filter Builder -- click the filter icon to add advanced conditions (field, operator, value). Conditions can be combined with AND/OR logic.
- Saved Views -- save a filter configuration as a named view and recall it later.
Kanban Board
Each column represents a pipeline stage. Cards show:
- Deal title and deal number
- Primary contact name
- Deal value in GHS
- Deal type badge (Sale, Rental, Development)
- Assigned agent
To move a deal between stages:
- Click and hold a deal card.
- Drag it to the target stage column.
- A confirmation dialog appears -- optionally add a note explaining the stage change.
- Click Move Deal to confirm.

List View & Bulk Actions
Switch to list view for a tabular layout with multi-select checkboxes.
- Click the list icon in the toolbar.
- Select individual deals using the row checkboxes, or click the header checkbox to select all.
- A Bulk Action Bar appears at the bottom with options:
- Delete -- permanently remove selected deals.
- Change Stage -- move all selected deals to a chosen stage.
- Add Tags -- apply comma-separated tags to selected deals.
- Export -- download a CSV file of the selected deals.
Tip: Use the keyboard shortcut
Vto toggle between Kanban and List views. Press?to see all available keyboard shortcuts.
8.2 Contacts
Contacts are the people and organisations your firm interacts with -- buyers, sellers, tenants, landlords, developers. Navigate to Deals > Contacts from the CRM sidebar.

Contact Cards
Each contact card displays:
- Name and avatar
- Email and phone number
- Company affiliation
- Location (city/region)
- Lead status badge (New, Contacted, Qualified, Unqualified, Nurturing)
- Tags
Creating a Contact
- Click + New Contact in the top-right corner.
- Fill in the required fields: first name, last name, and email.
- Set the Lead Status to categorise where this person sits in your funnel.
- Optionally attach the contact to a Company and add a physical Address.
- Click Save to create the contact.
Searching & Filtering Contacts
- Use the search bar to find contacts by name, email, or phone.
- Use the Filter Builder for advanced queries (e.g. lead_status equals "Qualified" AND city contains "Accra").
- Save frequently-used filters as Saved Views.
Bulk Operations
Select multiple contacts using checkboxes, then use the Bulk Action Bar to:
- Merge duplicate contacts
- Delete contacts
- Export to CSV
- Add or remove tags
Import Wizard
To import contacts from a spreadsheet:
- Click the Upload icon in the toolbar.
- Upload a CSV or Excel file.
- Map columns to PROPMETRIK fields (name, email, phone, company, etc.).
- Review the preview and click Import.
Contact Detail Page
Click any contact card to open its detail page, which includes:
- Full contact information with edit capability
- Activity timeline (calls, emails, meetings, notes)
- Associated deals
- Relationship map showing connections to other contacts and companies
- Communication history
Relationship Map & Merge
- Click the Network icon to view a visual relationship map.
- Click GitMerge to open the merge dialog and combine duplicate contacts.

8.3 Agents
Agents are the sales professionals and brokers on your team. Manage their profiles, track performance, and configure commission structures from Deals > Agents.

Agent Stats Dashboard
Four metric cards appear at the top:
- Total Agents -- how many agents are registered.
- Active Agents -- agents with at least one open deal.
- Total Deals -- aggregate deal count across all agents.
- Revenue -- total commission-eligible revenue.
Creating an Agent
- Click + New Agent.
- Enter the agent's name, email, phone, and licence number.
- Select a Specialisation (Residential Sales, Commercial Leasing, Land, Development, etc.).
- Set the agent's Status (Active, Inactive, Suspended).
- Configure the Commission Rate (percentage of deal value).
- Click Save.
Agent Detail Page
Click an agent card to see:
- Profile information and photo
- Performance metrics (deals won, revenue generated, conversion rate)
- Active and historical deals
- Commission history
- Activity timeline
Tip: Use the dropdown menu (three dots) on each agent card for quick actions like Edit or View Profile.

8.4 Companies
Companies represent the organisations your contacts belong to -- developers, corporate tenants, investment firms, government agencies. Navigate to Deals > Companies.

Creating a Company
- Click + New Company.
- Enter the company name, industry, website, and address.
- Link existing contacts as employees or representatives.
- Click Save.
Company Detail
Each company page shows:
- Company profile and logo
- List of associated contacts with their roles
- Active deals involving the company
- Total deal value and deal history
8.5 Properties
The Properties sub-module maintains a registry of real estate assets linked to your deals. Navigate to Deals > Properties.

Adding a Property
- Click + New Property or use the Submit Property form for external submissions.
- Enter property details: title, type (residential, commercial, land, mixed-use), address, city, region.
- Add financials: asking price, valuation, rental income.
- Upload photos and documents.
- Click Save.
Property Detail Page
Click any property to view:
- Full property details with photo gallery
- Location on map
- Linked deals and contacts
- Valuation history
- Documents and attachments
8.6 Pipelines
Pipelines define the stages a deal moves through from initial inquiry to close. Navigate to Deals > Pipelines.

Default Pipeline
PROPMETRIK ships with a default pipeline. You can customise it or create additional ones for different deal types (sales, lettings, developments).
Creating a Pipeline
- Click + New Pipeline.
- Enter a name and select a deal type (Sale, Rental, Development, or All).
- Check Set as Default if this should be the primary pipeline.
- Click Create.
Managing Stages
Each pipeline has an ordered list of stages. For each stage you configure:
- Stage Name -- e.g. "Initial Inquiry", "Viewing Scheduled", "Offer Made", "Under Contract", "Closed".
- Color -- choose from 9 colour options (Gray, Blue, Green, Yellow, Orange, Red, Purple, Pink, Amber).
- Probability -- the win probability at this stage (0--100%). Used for revenue forecasting.
To reorder stages:
- Click the up/down arrows on each stage row.
- Or drag the grip handle to reorder.
To add a stage:
- Click + Add Stage at the bottom of the stage list.
- Enter the stage name, colour, and probability.
- Click Save.
Pipeline Designer
Click the Settings icon to open the visual Pipeline Designer, which provides a flowchart-style view of your pipeline with branching logic and automation rules.
Tip: Set stage probabilities accurately -- they feed directly into the Revenue Forecaster on the Financials page.
8.7 Tasks
The Tasks module helps your team stay on top of follow-ups, viewings, document collection, and other action items. Navigate to Deals > Tasks.

Creating a Task
- Click + New Task.
- Enter the task title and description.
- Set the Due Date and Priority (Low, Medium, High, Urgent).
- Assign the task to a team member.
- Link to a deal, contact, or property (optional).
- Click Save.
Task Views
- List view -- all tasks sorted by due date.
- Board view -- Kanban-style columns by status (To Do, In Progress, Done).
- Calendar view -- tasks plotted on a calendar.
Overdue Handling
Tasks past their due date are highlighted in red and can trigger automated workflow notifications if configured.
8.8 Targets
Set and track sales targets for your team. Navigate to Deals > Targets.

Setting a Target
- Click + New Target.
- Select the Target Type: Revenue, Deal Count, or Commission.
- Choose the Period: Monthly, Quarterly, or Annual.
- Set the Target Value in GHS.
- Assign to an individual agent or the entire team.
- Click Save.
Tracking Progress
Each target card shows:
- Target value vs. current achievement
- Progress bar with percentage complete
- Trend indicator (on track, at risk, behind)
- Days remaining in the period
8.9 Commissions
Track, calculate, and approve agent commissions. Navigate to Deals > Commissions.

Commission Calculation
Commissions are automatically calculated when a deal is marked as won, based on:
- Deal Value -- the final transaction price.
- Commission Rate -- set on the agent profile.
- Split Percentage -- how the commission is divided between the agent and the company.
The system computes:
- Gross Commission = Deal Value x Commission Rate
- Agent Share = Gross Commission x Split Percentage
- Company Share = Gross Commission - Agent Share
Commission Tabs
The commissions page has three tabs:
| Tab | Purpose |
|---|---|
| Overview | Summary metrics: total payable, paid, pending |
| Pending | Commissions awaiting approval with Approve/Reject actions |
| History | All past commission records with export option |
Approving Commissions
- Navigate to the Pending tab.
- Review each commission record: agent name, deal, gross amount, split.
- Click Approve to mark for payment, or Reject with a reason.
- Approved commissions move to the History tab and are included in payroll exports.
Payment Settings
Configure payment methods and schedules from the Payment Settings tab within Deal Financials (see Chapter 10).
8.10 Drip Campaigns
Automate email follow-up sequences for leads and contacts. Navigate to Deals > Drip Campaigns.

Creating a Campaign
- Click + New Campaign.
- Enter a Name and optional Description.
- Select a Trigger Type:
- Manual -- you enrol contacts by hand.
- On contact created -- automatically enrols new contacts.
- On deal stage change -- triggers when a deal enters a specific stage.
- Click Create.
Adding Email Steps
Each campaign consists of a sequence of timed email steps:
- Select a campaign from the list.
- Click + Add Step.
- Enter the Subject line and Body content.
- Set the Delay (number of days after the previous step).
- Click Add Step.
Managing Campaigns
- Play/Pause -- toggle the campaign active/inactive using the play/pause button.
- Delete -- remove a campaign (confirmation required).
- View Enrollments -- see which contacts are currently enrolled and their progress through the sequence.
Tip: Create a "Welcome" campaign with a 3-step sequence: Day 0 introduction, Day 3 property recommendations, Day 7 follow-up call request.
8.11 Documents
Manage documents associated with your deals -- offers, contracts, ID copies, title deeds. Navigate to Deals > Documents.

Uploading Documents
- Click + Upload Document.
- Select the file from your computer (PDF, Word, Excel, images).
- Tag the document with a category (Contract, Offer, ID, Title Deed, Valuation Report, etc.).
- Link to a deal, contact, or property.
- Click Upload.
Document Actions
- View -- preview the document in-browser.
- Download -- save a local copy.
- Edit -- update metadata, tags, or linked entities.
- Send for Signature -- route the document to the E-Sign module (see Chapter 9).
8.12 Messaging
Communicate with contacts and team members directly from the CRM. Navigate to Deals > Messaging.

Features
- Threaded conversations -- messages are grouped by contact or deal.
- Email integration -- send and receive emails without leaving PROPMETRIK.
- SMS notifications -- send text messages to contacts (requires WhatsApp/SMS configuration).
- Templates -- use pre-built message templates for common communications.
- Attachments -- share documents, photos, and files directly in conversations.
8.13 Workflows
Automate repetitive tasks and business logic with event-driven workflows. Navigate to Deals > Workflows.

Available Triggers
| Trigger | Fires When |
|---|---|
| Deal Created | A new deal is added |
| Deal Stage Changed | A deal moves between pipeline stages |
| Deal Won | A deal is marked as won |
| Deal Lost | A deal is marked as lost |
| Contact Created | A new contact is added |
| Contact Updated | A contact record is modified |
| Activity Logged | A call, email, or meeting is recorded |
| Task Completed | A task is marked as done |
| Task Overdue | A task passes its due date |
| Document Signed | An e-sign envelope is completed |
| Time-based | A scheduled time trigger |
| Manual | Triggered by clicking "Run" |
| Webhook | Triggered by an external HTTP request |
Creating a Workflow
- Click + New Workflow.
- Enter a name and description.
- Select the Trigger Type from the list above.
- Click Create to open the workflow editor.
Workflow Editor
The detail page lets you build a sequence of actions:
- Send Email -- automated email to a contact or team member.
- Create Task -- generate a follow-up task.
- Update Deal -- change deal fields (stage, value, tags).
- Send Notification -- push notification to team members.
- Wait -- pause for a specified duration before the next action.
- Condition -- branch logic based on deal or contact attributes.
Monitoring
Each workflow card shows:
- Total executions
- Successful vs. failed executions
- Last run timestamp
- Active/paused status
Click a workflow to view its Execution History, which logs every run with timestamps, inputs, outputs, and error messages.
Tip: Start simple -- create a workflow that sends an email notification when a deal is won, then gradually add more complex automation.
8.14 Deal Financials
The financial centre for your deals module. Navigate to Deals > Financials.

Tabs
| Tab | Purpose |
|---|---|
| Overview | Revenue metrics, deal value distribution, payment status summary |
| Payment Settings | Configure payment providers (Paystack, bank transfer), commission payout schedules |
| Forecast | AI-powered revenue forecasting based on pipeline data and stage probabilities |
See Chapter 10 for a deeper dive into financial features.
8.15 Deal Team
Manage team members assigned to deals. Navigate to Deals > Team.

Adding Team Members
- Open a deal's detail page.
- Click the Team tab.
- Click + Add Member.
- Search for a user by name or email.
- Assign a role (Lead Agent, Support Agent, Analyst, Manager).
- Click Add.
Team Roles
- Lead Agent -- primary deal owner, receives all notifications.
- Support Agent -- assists with viewings, paperwork.
- Analyst -- reviews financials and valuations.
- Manager -- oversight and approval authority.
8.16 Deal Analytics
Gain insights into your sales performance. Navigate to Deals > Analytics.

Available Reports
- Pipeline Velocity -- average time deals spend in each stage.
- Conversion Funnel -- drop-off rates between stages.
- Win/Loss Analysis -- reasons for won and lost deals.
- Agent Performance -- league table of agent metrics.
- Revenue Trends -- monthly and quarterly revenue charts.
- Deal Source Analysis -- which lead sources produce the most valuable deals.
8.17 Deal Detail Page
Click any deal from the Kanban board or list to open its detail page.
Sections
- Header -- deal title, number, type badge, stage badge, and assigned agent.
- Overview -- deal value, property address, expected close date, probability.
- Timeline -- chronological feed of all activities, stage changes, notes, and emails.
- Contacts -- linked contacts with roles (buyer, seller, tenant, landlord).
- Documents -- attached files with upload, preview, and e-sign options.
- Tasks -- deal-specific tasks with status and due dates.
- Team -- assigned team members and their roles.
- Notes -- free-form notes added by team members.
- Activity Log -- system-generated audit trail.
Quick Actions
From the deal detail page header:
- Edit -- modify deal fields.
- Move Stage -- advance or revert the deal to a different stage.
- Send for Signature -- create an e-sign envelope linked to this deal.
- Create Task -- add a follow-up task.
- Add Note -- record a comment or observation.
Slide-in Panel
On the main deals page, clicking a deal card opens a slide-in panel on the right side instead of navigating to a new page. This panel provides a quick summary with tabs for Overview, Timeline, and Actions, letting you review deal details without losing your board context.
Tip: Use the AI Assistant (floating chat icon) to ask questions like "Show me deals in Accra above GHS 500,000" or "Which agent has the highest conversion rate this quarter?"
Keyboard Shortcuts
| Shortcut | Action |
|---|---|
V | Toggle Kanban / List view |
/ | Focus the search bar |
? | Open keyboard shortcuts help dialog |
Summary
The Deals / CRM module brings together every aspect of real estate deal management -- from lead capture and pipeline tracking to commission calculation and revenue forecasting. Use the sidebar navigation to move between sub-modules, the AI assistant for quick queries, and workflows to automate repetitive tasks.